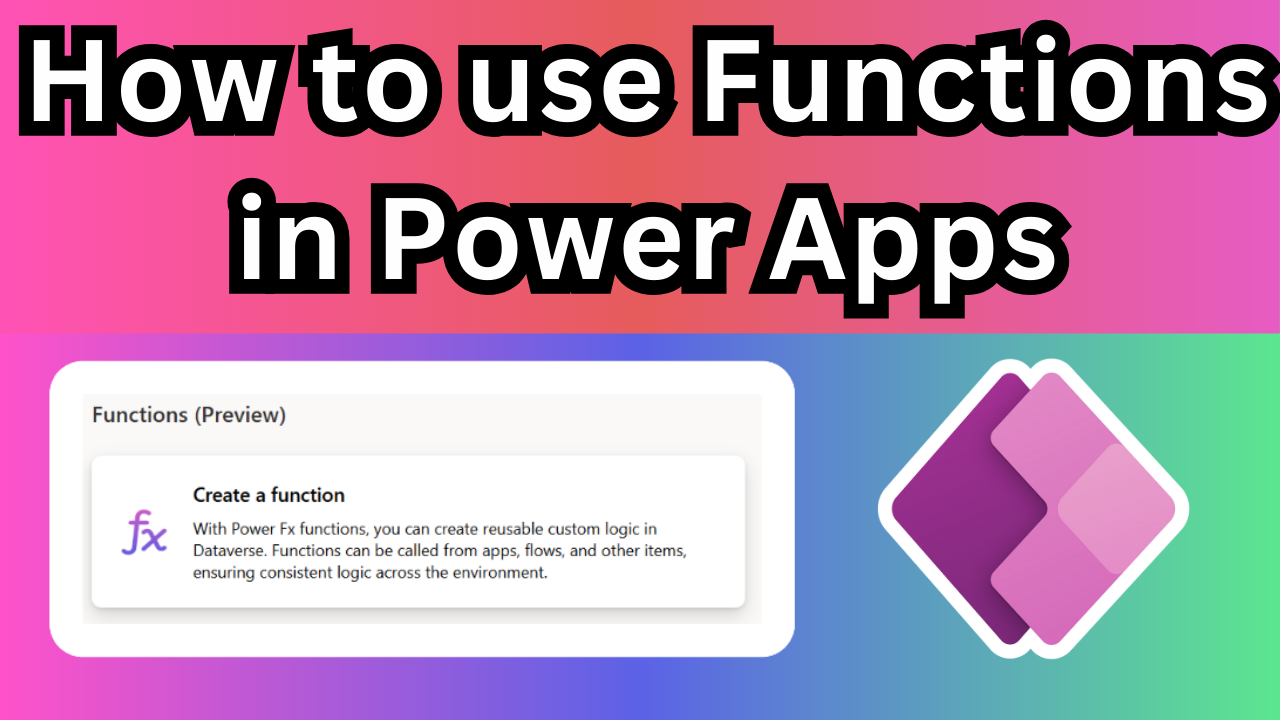
How to use Functions in Power Apps
What Is Functions In Microsoft Dataverse
Functions are reusable solution objects, which execute a specific set of commands within Dataverse, running server-side.
Functions in Dataverse are seamlessly integrated into Power Apps and Power Automate, enabling smooth interaction with business data. Defined using the Power Fx expression language, they allow workflows to connect directly with Dataverse and external data sources via Power Platform connectors. This empowers makers to build complex logic efficiently, even with minimal coding experience.
Benefits of Creating Server-Side Logic
Defining server-side business logic provides several advantages:
- Enhanced Security – Since server-side logic runs on the server, it helps prevent unauthorized access to sensitive data and processes.
- Improved Performance – Executing logic on the server reduces data transfer between the client and server, resulting in faster processing times.
- Consistency & Reliability – Business rules are applied uniformly across all clients, minimizing errors and inconsistencies.
- Easier Maintenance & Upgrades – Centralized business logic simplifies maintenance and updates, as changes are made in one place rather than across multiple clients.
- Scalability – Server-side logic can handle larger workloads more efficiently compared to client-side logic.
Functions in Dataverse
Dataverse functions leverage Power Fx, the low-code language used across Microsoft Power Platform. Power Fx is a general-purpose, strongly typed, declarative, and functional programming language used in Canvas Apps, Model-Driven Apps (custom pages & commanding), and beyond.
Key Benefits of Functions:
- Accept input parameters.
- Can be triggered manually.
- Support both global and table-specific scopes.
General Properties of Functions:
| Property | Description |
|---|---|
| Display Name | The user-friendly name of the function. Cannot be changed after creation. |
| Name | The internal system name used for code and database operations. Cannot be changed after creation. |
| Description | Provides context on the function’s purpose and behavior. Cannot be changed after creation. |
| Solution | Groups components and enables export to different environments. Learn more about solutions. |
| Expression | Defines the custom function using the Power Fx expression language. View supported functions. |
Custom Functions: Input & Output Parameters
Custom functions allow users to manually invoke logic while passing custom input and output parameters.
| Property | Description |
|---|---|
| Table Reference | Links the function to up to five specific Dataverse tables for reading or writing data. |
| Parameters | Passes information between the function and its execution context, enabling dynamic logic. |
| Input Parameters | Provide data to the function, influencing its behavior based on Power Fx formulas. |
| Output Parameters | Retrieve and use function results in subsequent operations. Learn more about supported data types. |
This structured approach to server-side functions in Dataverse helps developers and makers implement efficient, secure, and scalable business logic with minimal coding effort. 🚀
supported data types for input and output parameters
- Boolean
- String
- Float
- Decimal
- DateTime
- Integer
How to use Functions in Power Apps
Create a function in a solution
- Open the solution where you want to create a function.
- On the command bar, select New > Automation > Function.

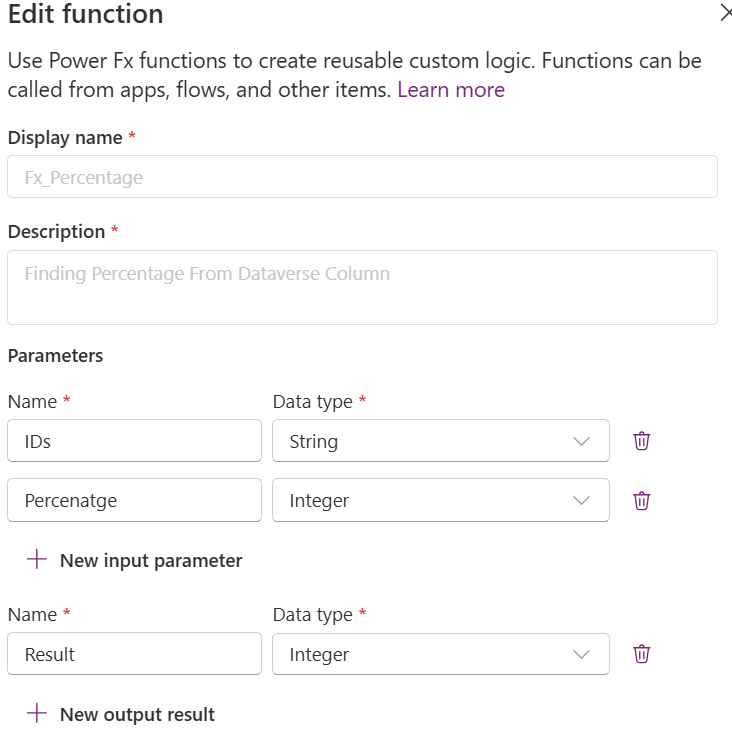
- Enter the following information in the New function side panel that appears.
- Provide a Display name and Description for your function.
- Select New input parameter and/or New output parameter, then provide a name and data type for the parameter. Add more input and output parameters as needed.
- In the Table references list you can optionally select tables. You can reference the Dataverse tables you choose using data collection functions, such as Filter() and LookUp().
- Enter the Power Fx expression in the Formula box.
Select Save.

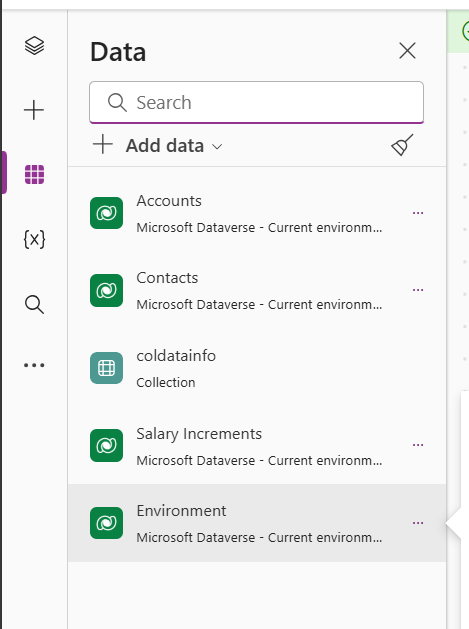
Open Power Apps Studio and Add Environment table
Added Gallery And Text input, Button and Label
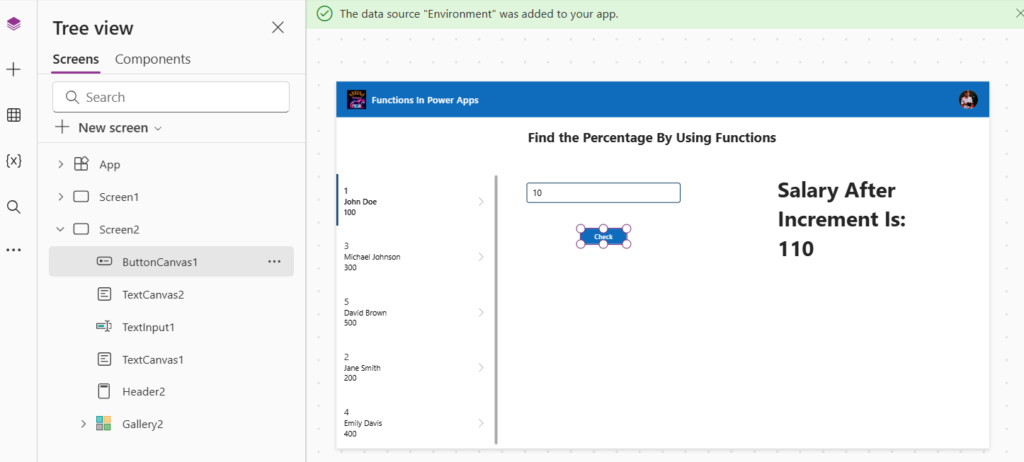
on Select of Button use below Formula
Set(gblincremantedsalary,Environment.cr123_Fx_Percentage({ID:Gallery2.Selected.ID,Percenatge:TextInput1.Text}));Reset(TextInput1)On Label text Property
"Salary After Increment Is: " & gblincremantedsalary.ResultIn this way you can use Functions in Power Apps
How to use Functions in Power Apps
✨ Thanks for reading! ✨
I hope you found this blog on the Microsoft Power Platform helpful! From Power Apps, Power Automate (Cloud & Desktop), Canvas Apps, Model-driven Apps, Power BI, Power Pages, SharePoint, Dynamics 365 (D365), Azure, and more, I cover a wide range of topics to help you harness these powerful tools. Don’t miss out on future tips, tutorials, and insights—hit that subscribe button to get the latest posts right to your inbox. 💌💬 I’d love to hear your thoughts! Drop a comment below with your questions, ideas, or feedback—let’s get the conversation started!🔗 Let’s connect and grow together!
Follow me, Ravindra Jadhav, on your favorite platforms for even more content and updates on Microsoft Power Platform and related technologies:
💼 LinkedIn – Let’s network and share ideas!
💻 GitHub – Explore my projects and code.
🐦 Twitter – Stay updated with quick tips and industry news.
📺 YouTube – Watch tutorials and deep dives on Power Platform, Power Apps, Power Automate, and more! Let’s build something amazing together with Power Platform and Azure! 🚀